Basket weaving is the craft of interlacing reed, cane, or other flexible materials into a container by hand. A beginner kit with pre-cut, ready-to-soak materials costs $20 to $30, and most first baskets take an afternoon to finish. It’s one of the few crafts where the finished piece is genuinely useful, not just decorative, which is part of why it has held on as a hobby for centuries.
Jump to:
- What Basket Weaving Actually Is
- What It Costs to Start
- Tools and Materials Checklist
- Core Basket Weaving Techniques
- How to Weave Your First Basket
- Common Basket Weaving Mistakes
- Where to Take Basket Weaving Next
- FAQ: Basket Weaving for Beginners
Disclosure: some links on this page are Amazon affiliate links. As an Amazon Associate I earn from qualifying purchases.
What Basket Weaving Actually Is
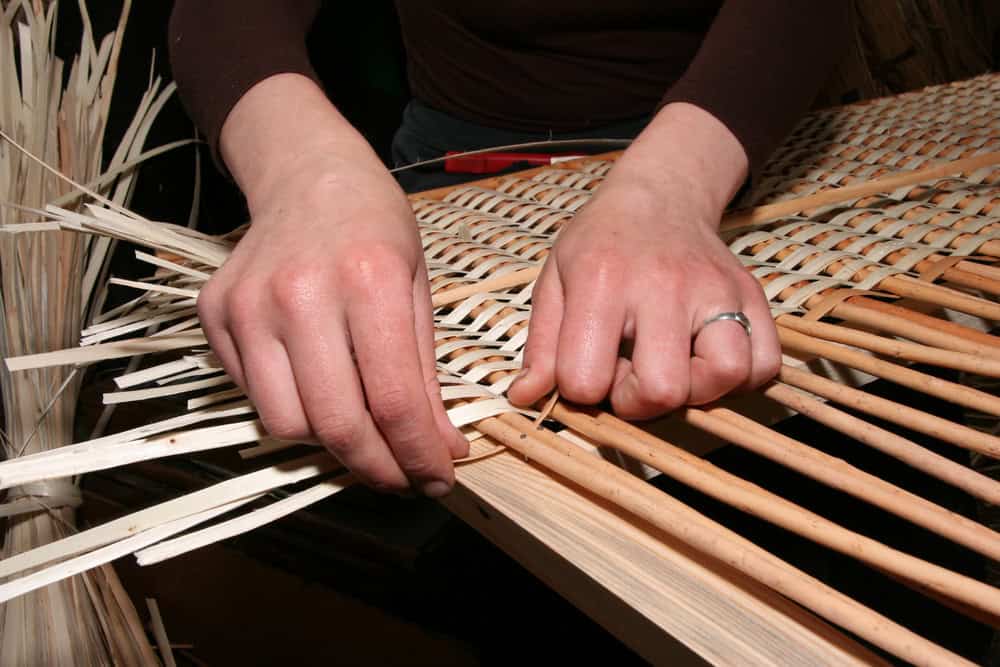
Basket weaving means building a container by interlacing flexible strips of material, most often reed cut from rattan, around a rigid frame or base. The material is soaked in water until pliable, woven while wet, and holds its shape once it dries.
The craft goes back thousands of years across nearly every culture, originally for carrying and storing food, but today it’s mostly a relaxing hands-on hobby with a genuinely useful result at the end. A finished basket can hold mail, yarn, produce, or anything else you’d otherwise buy a plastic bin for.
Most beginners start with reed rather than natural materials like willow or pine needles, since reed comes pre-cut to a consistent width and just needs soaking, no harvesting or splitting required.
What It Costs to Start
Cost to start: $20-$40. Difficulty: Easy. First step: buy a beginner basket kit with pre-cut reed and instructions rather than piecing together raw materials on your first try.
A beginner basket kit with all the reed, a wooden base or hoops, and step-by-step directions included runs about $20-$25 from a basket supply retailer. One well-reviewed option is the Traditional Craft Kits Wicker Basket Weaving Kit for Beginners ($16.00, 4.5 stars from over 100 ratings), which comes with precut reed and printed instructions for a first basket. Buying materials separately costs a bit less once you already own the basic tools: a 1-pound coil of flat reed (the material most beginner projects use) runs around $19-$20 and covers several small baskets, since one coil holds anywhere from 90 to 400 feet of reed depending on the width.
If you want a specific shape rather than a kit’s preset design, oak hoops or a wooden base cost $2-$9 depending on size, and a basket handle runs $2-$12. Round reed for handles, rims, and finishing details adds a few more dollars but isn’t required for your first flat-bottomed basket.
Tools and Materials Checklist
- Flat reed. The main weaving material for most beginner baskets. Sold by width; wider reed covers a basket faster but shows less detail.
- Round reed. Used for handles, rims, and some decorative weaves. Not required for a first basket, but useful once you move past the basics.
- A basket base or hoops. Gives the basket its shape and starting structure. Pre-drilled wooden bases are the easiest option for a first project.
- A basin or bucket of water. For soaking reed until it’s pliable enough to bend without cracking.
- Basket weaving awl or a flathead screwdriver. Opens gaps between woven strands so you can tuck in new pieces of reed.
- Sharp scissors or reed cutters. For trimming reed ends flush once a piece is woven in.
- Clothespins or spring clamps. Hold reed in place while you work, especially useful on your first few baskets before your hands learn the tension.
Core Basket Weaving Techniques
Plain weave. The simplest and most common starting technique: one weaver strip goes over one stake, then under the next, alternating all the way around. It’s the fastest technique to learn and the one nearly every beginner kit is built around.
Randing. A close cousin of plain weave that uses a single weaver worked over-one-under-one, but with each new row starting at a different stake so the over-under pattern staggers rather than stacking in a straight line. The result looks more like woven fabric than plain weave.
Twining. Two weavers are twisted around each other as they pass around the stakes, crossing between every stake rather than going over or under a single one. Twining is slower than plain weave but produces a noticeably stronger, more rigid wall, which is why it shows up on the base and rim of most baskets even when the body uses a different technique.
Coiling. A completely different method from the three above: a core material, often reed, pine needles, or rope, is wound into a spiral and stitched to the row below it with a separate wrapping material. Coiling produces a distinctive ridged texture and is the technique behind most pine needle baskets.
Plain weave is the easiest starting point for a first project. Twining and coiling both take more practice to get an even, consistent result.
How to Weave Your First Basket
A small round or square basket with a pre-drilled base is the easiest first project, since the base does the hard work of spacing your stakes evenly.
Soak your reed in room-temperature water for 10-20 minutes before you start weaving. Reed that hasn’t soaked long enough will crack when you try to bend it; reed that’s soaked too long gets mushy and hard to control, so check it every few minutes once you’re close.
Insert your upright stakes into the base first, spacing them evenly around the edge. This step sets up the entire rest of the weave, so take the extra minute to get the spacing even before moving on.
Begin weaving your first row of horizontal reed over and under the stakes, working around the base in one continuous direction. Keep gentle, even tension; pulling too tight warps the base, and weaving too loose leaves gaps once the reed dries.
Once you reach your target height, fold the stake ends down and tuck them into the weave to finish the rim, or weave in a separate rim piece if your kit includes one. Let the finished basket dry fully, usually 24-48 hours, before handling it roughly.
Common Basket Weaving Mistakes
- Not soaking the reed long enough. Dry or under-soaked reed cracks and splinters the moment you try to bend it sharply. If a piece is cracking, stop and soak it a few more minutes before continuing.
- Uneven stake spacing. Stakes that aren’t evenly spaced around the base throw off the whole weave, since every row after that has to compensate for the gap. Fix spacing before you weave a single row, not after.
- Weaving with inconsistent tension. Pulling some rows tight and leaving others loose creates a lumpy, uneven wall. Aim for the same gentle pressure on every pass, and check your work every few rows rather than only at the end.
- Trimming reed ends too early. New weavers often cut reed flush before it’s fully dry and settled into place, only to find a gap opens up as it shrinks. Wait until the piece is fully dry before doing final trims.
- Starting with a shape that’s too ambitious. A tall, narrow, or oddly angled basket is much harder to keep even than a simple round or square shape. Save the creative shapes for after your first few baskets.
Where to Take Basket Weaving Next
Once a simple round or square basket feels easy, adding a woven handle, a patterned rim, or mixing in a second reed color are the natural next steps before moving to more advanced shapes like melon or market baskets.
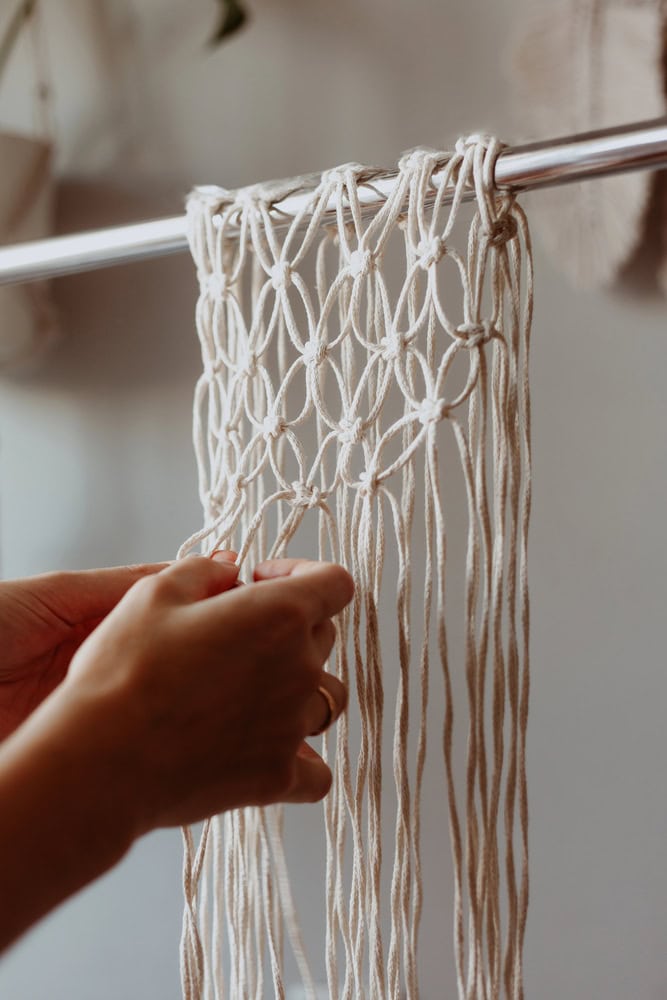
Basket weaving pairs naturally with other fiber and hands-on crafts if you’re building out a broader creative hobby. Rug tufting shares the same appeal of turning inexpensive raw material into a finished, useful piece in a single sitting, and punch needle and needlepoint both scratch a similar repetitive, meditative itch with a different material. Macrame and decoupage are two more low-cost crafts worth trying next, both finishable in a single sitting like your first basket.
For more ideas in a similar price range, the productive hobbies you can do with your hands guide and the full roundup of art hobbies both cover crafts with a comparable low startup cost and fast first project. You can also browse the master list of hobbies to find something to pair it with.
FAQ: Basket Weaving for Beginners
Is basket weaving hard to learn?
No. Plain weave, the technique most beginner kits use, is genuinely simple: over one stake, under the next, repeating around the base. A small first basket made from a kit can often be finished in an afternoon, and the main skill that takes practice is keeping even tension, not the weave pattern itself.
What material should a beginner use, reed or willow?
Reed. It comes pre-cut to a consistent width and just needs soaking before you weave, while willow needs to be harvested, sorted, and sometimes split by hand before it’s usable. Reed is also the material nearly every beginner kit is built around, so it’s the easier way to get a first project done without extra prep work.
How long does it take to weave a basket?
A small first basket from a beginner kit typically takes a few hours of active weaving, spread across one or two sittings, plus a day or two of drying time afterward before it can be handled roughly. Larger or more detailed baskets take longer, but the actual weaving time is usually shorter than people expect once the stakes are set up.
Do I need a wooden base, or can I start from scratch?
A pre-drilled wooden base is the easier starting point for a first basket, since it holds your stakes at even spacing automatically. Building a basket entirely from scratch, without a base or hoop to start from, is possible but adds a layer of difficulty most beginners don’t need to take on right away.