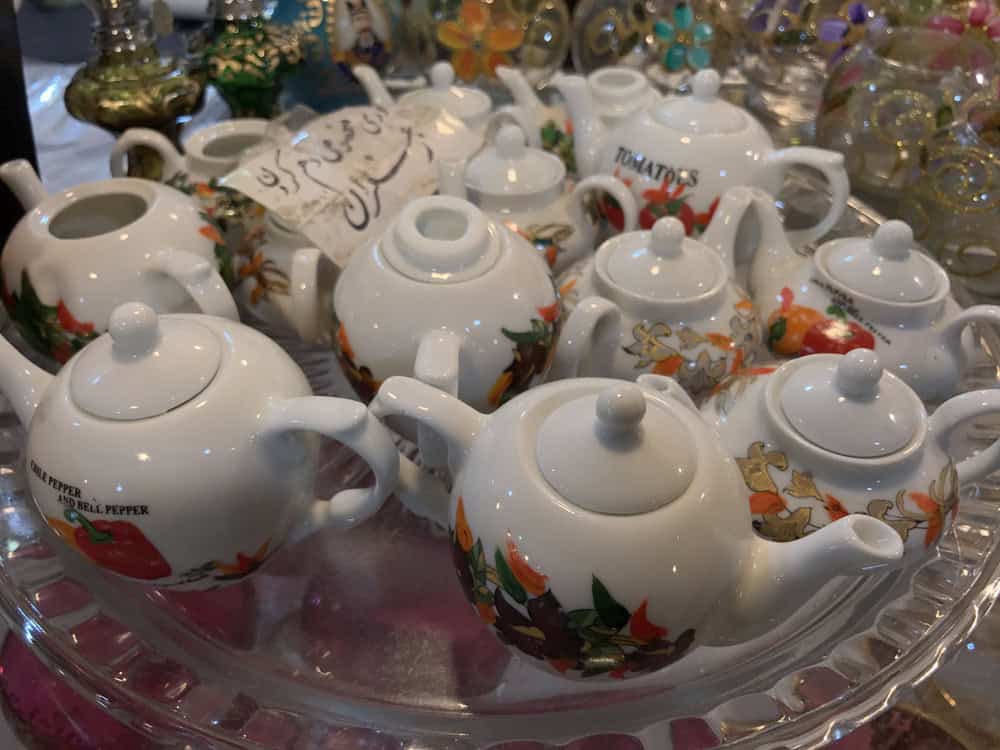
Decoupage is the craft of gluing paper or fabric cutouts onto an object and sealing them under a clear finish so the design looks painted on. A basic starter setup costs $15 to $40, and most people finish their first project in an afternoon. It works on wood, glass, ceramic, and fabric, which makes it one of the cheapest ways to turn a plain object into something you made yourself.
Jump to:
- What Decoupage Actually Is
- What It Costs to Start
- Tools and Materials Checklist
- Core Decoupage Techniques
- How to Decoupage Your First Project
- Common Decoupage Mistakes
- Where to Take Decoupage Next
- FAQ: Decoupage for Beginners
Disclosure: some links on this page are Amazon affiliate links. As an Amazon Associate I earn from qualifying purchases.
What Decoupage Actually Is
Decoupage comes from the French word “decouper,” meaning to cut out. The technique is simple: cut or tear paper into pieces, glue them onto a surface, and seal the whole thing with a protective topcoat once it’s dry.
Done well, the seams between paper pieces disappear and the design looks hand painted rather than glued on. That’s the whole appeal. It’s a low-skill craft with a high-end result, which is why it shows up everywhere from furniture flips to handmade coasters and gift boxes.
Most people start with paper napkins or printed craft paper because both are thin enough to lie flat without bulky edges. Fabric and photographs work too, but they take more practice to get smooth.
What It Costs to Start
Cost to start: $15-$40. Difficulty: Easy. First step: buy an all-in-one decoupage glue and a pack of patterned napkins or craft paper before spending on anything else.
You don’t need a dedicated kit to try decoupage. A single bottle of all-in-one decoupage glue (it acts as adhesive, sealer, and topcoat in one product) runs $6-$16 for an 8-ounce bottle depending on brand and retailer, and that one bottle covers several small projects. A pack of decorative paper napkins costs $4-$10, and each napkin usually yields 3-4 usable design pieces once you separate its layers. A widely used option for the glue is Mod Podge Gloss Sealer, Glue and Finish ($9.72 for 8 ounces, 4.8 stars from nearly 60,000 ratings), an Amazon best-seller that works as adhesive, sealer, and topcoat in one.
If you’d rather buy everything bundled, pre-assembled beginner kits with glue, brushes, and sample paper run $12-$25. They’re a reasonable shortcut if you don’t want to piece supplies together yourself, though buying separately is usually cheaper once you already own scissors and a foam brush.
The object you’re decorating is the other variable. A plain wooden box or a thrifted picture frame costs $0-$10, while blank ceramic tiles, glass jars, or unfinished furniture can run higher depending on size and where you buy it.
Tools and Materials Checklist
- Decoupage glue or Mod Podge style medium. Doubles as adhesive and sealer. Matte or gloss finish is a personal preference, not a functional difference.
- Paper napkins, craft paper, or tissue paper. Napkins are the cheapest and most beginner-friendly option because they’re pre-printed and thin.
- A foam brush or soft bristle brush. Foam brushes leave fewer visible strokes in the final coat.
- Small scissors or a craft knife. For cutting clean edges on your paper pieces.
- A brayer or your fingers wrapped in plastic wrap. For smoothing air bubbles out from the center outward.
- Fine grit sandpaper. Optional, but useful for smoothing a wooden surface before you start and buffing the final coat once it’s dry.
- The object you’re decorating. Wood, glass, ceramic, and metal all work. Start with something flat or gently curved for your first attempt.
Core Decoupage Techniques
Napkin decoupage. The most common beginner technique. Paper napkins are made of 2-3 thin plies, and you peel away the printed top layer before gluing, since the plain white backing layers would make the finished piece look cloudy. This is the cheapest and fastest way to get a professional-looking result.
Paper decoupage. Uses printed craft paper, scrapbook paper, or wrapping paper instead of napkins. The paper is thicker, which means more visible edges, but it holds up better on projects that will get handled a lot, like coasters or trinket boxes.
Fabric decoupage. Thin fabric, like cotton or linen scraps, gets sealed the same way as paper. It takes more glue and more patience to keep the weave from puckering, so it’s worth trying only after you’re comfortable with paper first.
Reverse glass decoupage. The design is glued to the back of a clear glass surface so it shows through the front, protected from scratches by the glass itself. Popular for plates and trays, but it requires working in mirror image, which trips up most beginners on their first try.
Distressed or vintage finish. After sealing, edges are lightly sanded and an antiquing glaze or dark wax is added to make the piece look aged. This is a finishing technique layered on top of any of the above, not a separate starting method.
How to Decoupage Your First Project
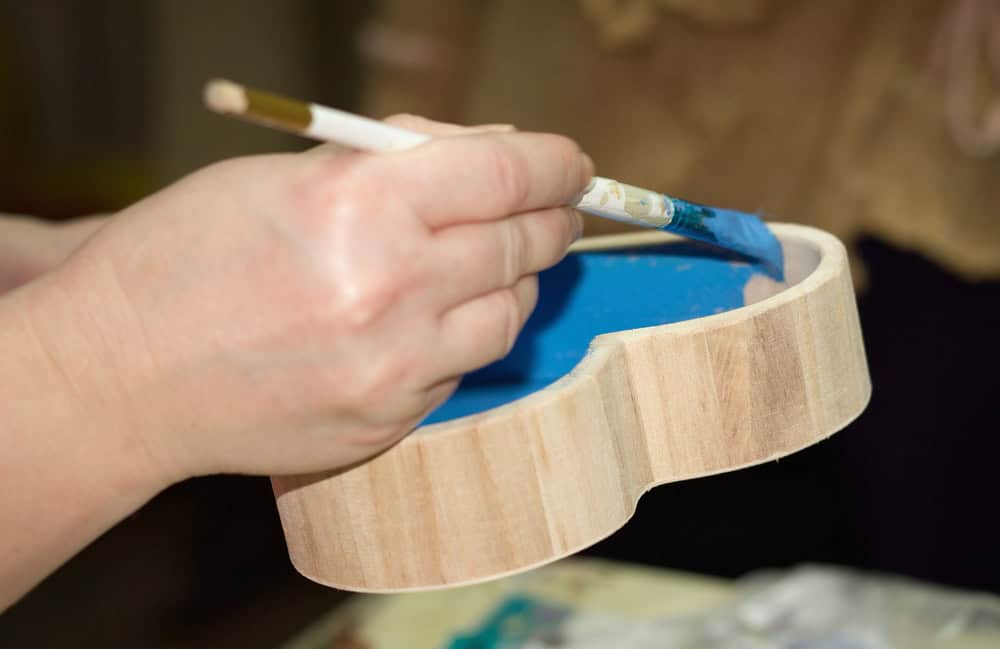
A small wooden box or picture frame is the easiest first project, since the flat surface makes it hard to trap air bubbles.
Clean and prep the surface first. Wipe away dust, and if you’re working on raw wood, a light sanding with fine grit sandpaper gives the glue something to grip. Skip this step on glass or ceramic; those just need a wipe with rubbing alcohol to remove oils.
Cut or tear your paper into pieces roughly the size you want them to sit on the final object. Torn edges blend in more easily than scissor-cut edges, especially with napkins, since the torn edge feathers out instead of leaving a hard line.
Brush a thin, even layer of glue onto the surface, place your paper piece down, and smooth it from the center outward with your fingers or a brayer. Add a thin layer of glue over the top of the paper once it’s positioned; this is what seals it in place.
Let each piece dry fully before adding the next one nearby, especially if the pieces overlap. Once your design is complete and fully dry, usually 24 hours, apply 2-3 thin topcoats of the same glue or a dedicated sealer, letting each coat dry before the next.
Common Decoupage Mistakes
- Using too much glue. A thick layer takes longer to dry and is far more likely to wrinkle the paper as it shrinks unevenly. A thin, even coat works better than a thick one every time.
- Skipping the napkin layers. Gluing down all 2-3 plies of a napkin at once leaves a cloudy, opaque finish. Always separate and use only the printed top layer.
- Rushing the drying time. Adding a topcoat before the base layer is fully dry traps moisture and can cause bubbling or peeling later. Most projects need a full 24 hours before sealing.
- Skipping the topcoat entirely. Without a sealing layer, the paper edges lift and the design isn’t protected from moisture or handling. Two to three thin topcoats make the difference between a piece that lasts and one that peels within weeks.
- Working in a humid or overly warm room. Paper and glue dry at different speeds when humidity is high, which is one of the most common causes of wrinkling that beginners can’t explain.
Where to Take Decoupage Next
A few beginner-friendly projects worth trying once your first piece is done: coasters (cork or tile blanks, sealed heavily since they take moisture), a tissue box or trinket box, a set of wooden ornaments, a serving tray, or an old picture frame turned into wall art. Each uses the same core technique on a slightly different surface, so they’re a good way to practice without starting over from scratch.
Once you’re comfortable with a flat surface, curved objects like vases, lamp bases, and furniture drawers are the natural next step; the technique is the same, just slower because you’re working in smaller sections to avoid trapped air.
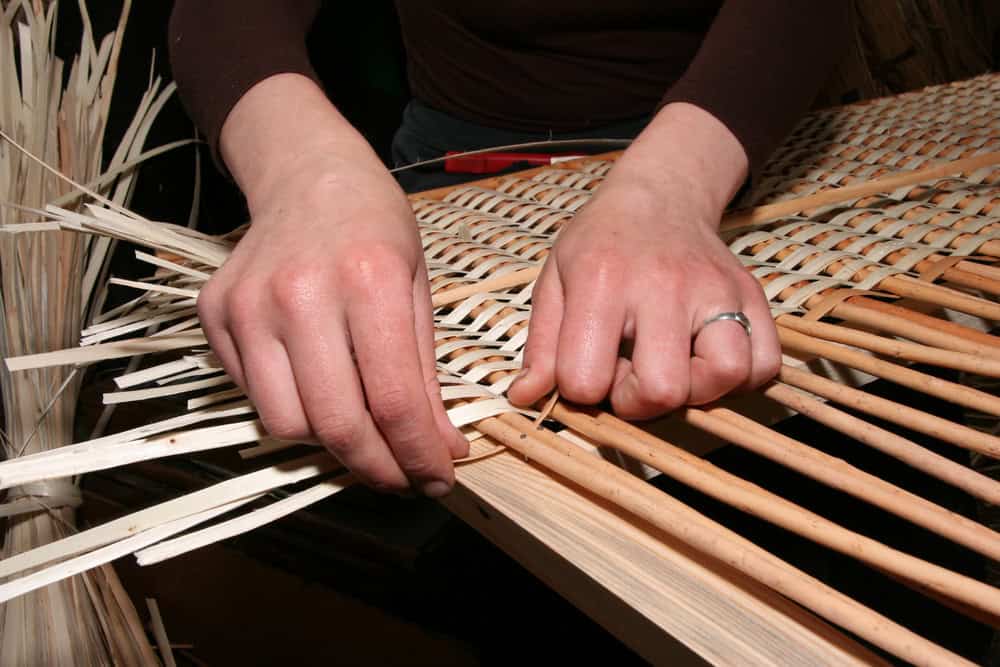
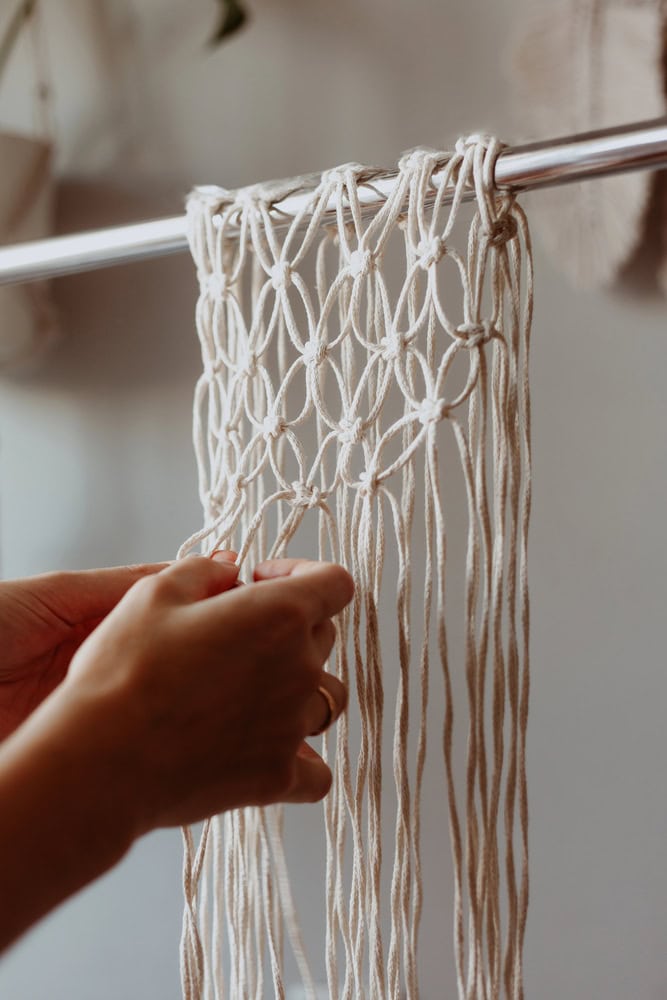
Decoupage pairs naturally with other paper and fiber crafts if you’re looking to build out a broader creative hobby. If cutting and layering fabric pieces appealed to you, rug tufting uses a similar hands-on, low-skill-ceiling approach with yarn instead of paper. Punch needle and needlepoint share the same appeal of turning a cheap blank surface into something finished in a single sitting. Macrame and basket weaving scratch that same itch with cord and reed instead of paper, if you want to branch out further.
For more ideas in the same price range, the productive hobbies you can do with your hands guide and the full roundup of art hobbies both cover crafts with a similar low startup cost and fast first project. You can also browse the master list of hobbies to find something to pair it with.
FAQ: Decoupage for Beginners
Is decoupage hard to learn?
No. Decoupage has a low skill floor: gluing paper down and sealing it is something most people can do acceptably on their first attempt. The learning curve is mostly about glue thickness and drying patience, not hand skill, which is why it’s a common first craft for beginners.
What glue do you use for decoupage?
An all-in-one decoupage medium (sold under names like Mod Podge) works as the adhesive, sealer, and topcoat in one product. Plain white PVA craft glue thinned slightly with water also works for the adhesive step, though it’s not as durable as a dedicated decoupage medium for the final sealing coats.
Can you decoupage on fabric or only hard surfaces?
You can decoupage onto fabric, wood, glass, ceramic, and metal. Fabric is the most difficult surface for a beginner because the weave shifts and puckers more than a rigid surface would, so most people start on wood or glass first and try fabric once they’re comfortable with the basics.
How long does a finished decoupage project actually last?
A piece with 2-3 proper topcoats and full drying time between coats holds up for years of normal handling. Pieces that skip the topcoat or get rushed through drying are the ones that peel or yellow within months, which is why the sealing step matters more than any other part of the process.